How to get Apple Pay on your iPhone (A Complete Guide)
Apple Pay is a handy way to make payments using your iPhone. It’s secure, convenient, and widely accepted. If you have an iPhone, you can easily set up Apple Pay and start using it to pay for goods and services. In this blog post we will discuss step-by-step guide on how to get Apple Pay on your iPhone.

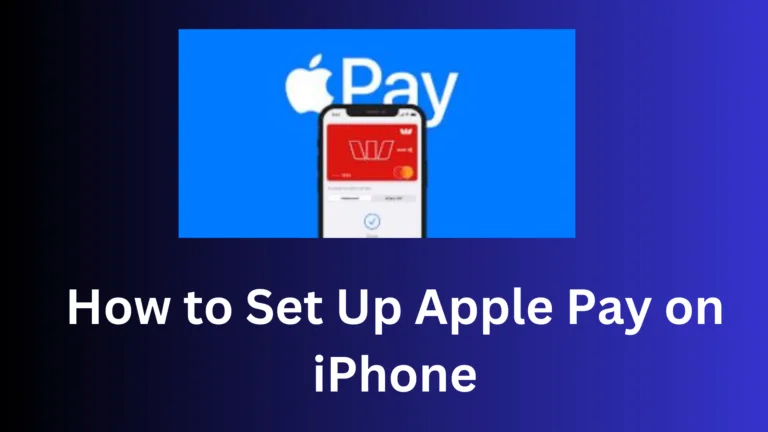
How to get Apple Pay on your iPhone
Getting Apple Pay set up on your iPhone is a straightforward process. Here’s a step-by-step guide on how to do it:
1. Check Compatibility:
- Ensure that your iPhone is compatible with Apple Pay. Apple Pay is available on iPhone models with Face ID, Touch ID, or a fingerprint sensor.
- Make sure your iPhone is running the latest version of iOS.
2. Add a Supported Card:
- Open the “Wallet” app on your iPhone. It’s the one with a blue and white icon that looks like a wallet.
- Tap the “+” (plus) sign in the upper right corner of the app to add a card.
3. Add a Credit or Debit Card:
- Follow the on-screen prompts to add a credit or debit card. You can either scan your card using the camera or enter the card details manually.
- You might need to verify your card with your bank, which may involve receiving a verification code via SMS or email.
4. Add Cards from Supported Banks:
- Apple Pay works with a wide range of banks and credit unions. If your bank is supported, you can add your card directly from the Wallet app.
- If your bank is not listed, you may need to contact them to see if they plan to support Apple Pay in the future.
5. Set Up Touch ID or Face ID:
If you haven’t already set up Touch ID or Face ID on your iPhone, you’ll be prompted to do so during the card setup process. These biometric features add an extra layer of security to your Apple Pay transactions.
6. Read and Accept Terms and Conditions:
Review the terms and conditions for using Apple Pay and accept them.
7. Verify Your Card:
Some banks may require additional verification, which can vary depending on your bank’s policies. Follow any verification steps provided.
8. Use Apple Pay:
- Once your card is added and verified, you can start using Apple Pay. Look for the Apple Pay logo at supported merchants and apps.
To make a payment, simply hold your iPhone near the contactless payment terminal and authenticate the transaction using Touch ID, Face ID, or your device passcode.
9. Set a Default Card (Optional):
You can set a default card for Apple Pay by going to “Settings” > “Wallet & Apple Pay” and selecting “Default Card.” This card will be used for transactions by default, but you can change it during payment if needed.
What is Apple Pay
Apple Pay, a mobile payment and digital wallet service crafted by Apple Inc., empowers users to conduct transactions in person, within applications, and across the web seamlessly. Compatible with an array of Apple devices such as iPhones, Apple Watches, iPads, and Mac computers, Apple Pay stands as a secure method for payments.
When utilizing Apple Pay, sensitive credit or debit card information remains shielded from storage on your device and disclosure to merchants. Instead, a unique and highly secure Device Account Number is generated and safely stored in the Secure Element, a dedicated chip residing within your device. This innovative approach ensures that your actual card details remain confidential, thus enhancing the security of your payments.
The Benefits of Using Apple Pay:
- Enhanced security: Your card details are encrypted and protected by Apple’s security features.
- Effortless payments: No need to fumble with cards or cash during checkout.
- Contactless convenience: Avoid touching surfaces and pay hygienically.
- Widespread acceptance: Millions of merchants worldwide accept Apple Pay.
Here are some additional tips for using Apple Pay on your iPhone:
- You can add multiple cards to Apple Pay. Choose a default card for convenience or select a specific card for a particular purchase.
- Set up a favorites list for quick and easy access to your most used cards.
- Use Apple Pay to make payments on websites and in apps. Look for the Apple Pay logo during checkout.
- Manage your Apple Pay settings in the Wallet app. You can edit your cards, set transaction limits, and receive notifications.
Apple Pay is a modern and secure payment method that makes your life easier. With its simple setup process and convenient usage, it’s a must-have for Apple device users. I hope this guide has been helpful in getting you started with Apple Pay.
How to Activate Apple Pay on your iPhone with the Button
Below is a guide on how to get Apple Pay on your iPhone with Just a Button Click:
- Open the Settings app.
- Tap Wallet & Apple Pay.
- Tap Apple Pay.
- Tap the Plus (+) button.
- Follow the pop-up instructions to add your credit or debit card.
- Once your card is added, double-click the side button to activate Apple Pay.
You can also activate Apple Pay by double-pressing the Home button on older iPhones.
How to link Apple Pay to your Bank Account
To use Apple Pay, you need to link your bank account to your Apple Wallet. Here is a step-by-step guide on how to do it:
- Open the Wallet app on your iPhone or iPad.
- click the Plus (+) button on the top-right corner.
- Select Debit or Credit Card.
- Hold your card up to the camera so it can scan the information.
- If prompted, enter the card’s expiration date and security code.
- Follow the on-screen instructions to verify your billing information.
- Your bank may send you a verification code via SMS or email. Enter this code to complete the linking process.
Once your bank account is linked to Apple Pay, you can start using it to make payments. Here are the steps on how to do it:
- Hold your iPhone or Apple Watch close to the contactless reader at the checkout terminal.
- Authenticate the payment using Face ID, Touch ID, or Passcode.
- Your payment will be processed.
You can also use Apple Pay to make payments in apps and online. Look for the Apple Pay logo during checkout.
Here are some additional tips for linking your bank account to Apple Pay:
- You can link multiple bank accounts to Apple Pay.
- You can choose a default bank account for Apple Pay.
- You can remove a bank account from Apple Pay at any time.
- If you have any problems linking your bank account to Apple Pay, contact your bank or Apple Support.
Conclusion
Apple Pay has revolutionized the way we make payments. Its contactless technology, coupled with robust security features, has made it a preferred choice for both consumers and merchants alike. Setting up Apple Pay on your iPhone is a seamless process that can be accomplished in a few simple steps.
To embrace the benefits of Apple Pay, I encourage you to explore its features and integrate it into your daily payment habits. With its user-friendly interface, enhanced security, and widespread acceptance, Apple Pay is poised to remain a prominent force in the mobile payments landscape.
We hope this blog post has provided you with a comprehensive understanding of setting up and How to get Apple Pay on your iPhone. If you have any further inquiries, feel free to leave a comment below.